Family History Scrapbook: 6 Steps to Build One Digitally (2026)

My grandmother kept her mother's photographs in a biscuit tin. Eleven of them, most unlabelled, one with a pencilled "Doris, 1938" on the back that nobody alive can place.
A family history scrapbook is the fix for that tin. It is an album built around your ancestors rather than your own recent years, and the modern way to make one is digital: you scan each original once, then place that scan on as many pages as the story needs without ever handling the fragile print again. The originals go back in their box. The names go in a caption where they can be read a hundred years from now.
That last part matters more than the layout. A survey of 2,113 US adults commissioned by Ancestry found that 66% want to know more about their family history, while only 4% could name all eight of their great-grandparents. The pictures usually survive. It is the names attached to them that go missing.
TL;DR
- A family history scrapbook documents ancestors and their stories, not your own current year — which changes how you organise it.
- Scan every original once at high resolution, then build pages from the scans. The print is handled a single time.
- Organise by branch of the tree, not by date. Family history has several parallel timelines running at once.
- Caption first, design second. An unlabelled page is decoration; a labelled one is a record.
- Digital lets one photograph appear on ten pages across three albums. Paper forces you to pick one.
What a family history scrapbook actually is
A family history scrapbook is an album about people who came before you, assembled from inherited photographs, documents, and the stories relatives can still tell. It differs from an ordinary photo album in two ways: the source material is finite and irreplaceable, and most of the value sits in the text rather than the images. You are not documenting a year. You are answering the question who were these people.
That reframing changes the work. A holiday album can be built from a camera roll in an afternoon. A heritage album is slower because every photograph needs a small research job attached to it — who, where, roughly when, and how they connect to you. The scanning is the easy half.
It also changes the deadline. Nobody is making new 1938 photographs, but the relatives who can identify them are a finite resource too. If there is someone in your family who still recognises the faces, that conversation is the urgent part of the project.
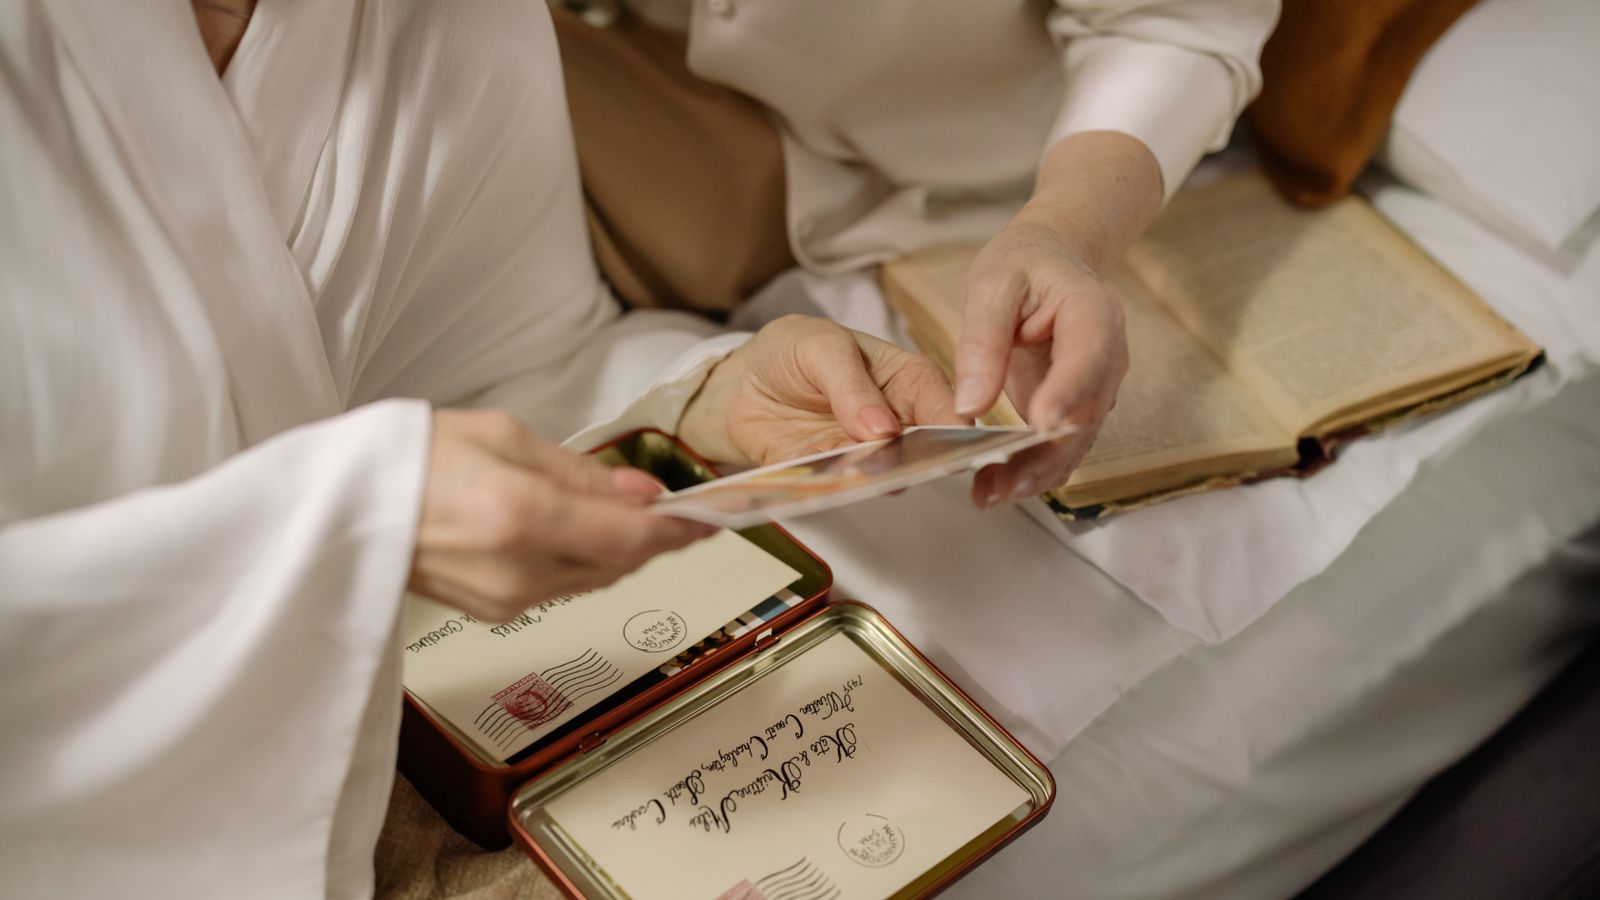
Caption: The tin, the letters and the one photo nobody can name — where most of these projects actually start.
Scan once, use everywhere
This is the single practical advantage a digital family history scrapbook has over a paper one, and most guides skip it. On paper, one print goes on one page. If you want your great-grandmother on the wedding page, the occupations page, and the front of the album, you need three copies — and each generation of photocopy loses detail. Digitally you scan her once and place that file wherever it belongs, at whatever size, forever.
Practically that means the scanning session is a one-time cost. Set the scanner to 600 DPI for standard prints and go higher for anything small or heavily detailed, save as a lossless file, and keep that scan as your master. Every page you ever build pulls from the master; you never rescan and you never re-handle the original.
Then put the originals away properly. The US National Archives recommends storing photographs at cool, moderate conditions — around 65–70°F and 35–50% relative humidity — holding prints by the edges, and avoiding PVC plastic sleeves entirely, because PVC releases acids that fade the image over time. Basements are usually too damp unless dehumidified.
What this buys you: the archival job and the creative job stop competing. Once the scans exist, you can rearrange, retitle and rebuild the album a dozen times without any risk to the artifacts.
How to build a family history scrapbook: 6 steps
1. Inventory before you scan
List what you physically have — tins, envelopes, albums, loose prints, documents — and roughly how many items each holds. This tells you whether the project is one weekend or six, and it stops you scanning the same envelope twice three months apart.
2. Interview the person who remembers
Sit with the oldest relative who will talk to you, spread the photographs out, and record the conversation on your phone. Ask "who is that" and then "what were they like". You are collecting captions, and this is the only source that expires.
3. Scan everything in one run
Batch it. Same settings, same session, consistent file naming — surname-year-description works well and sorts sensibly. Scan the backs too when there is writing on them; that pencilled note is often the only date you will get.
4. Name every file while the answers are fresh
Rename each scan the day you learn who is in it. This is the step people defer and then never do, and it is what separates an heirloom from a folder of strangers. Our guide to organising digital photos before you build anything covers the sorting workflow in more depth.
5. Build pages branch by branch
Open your digital scrapbooking software and start with the branch you know best rather than the earliest generation. Momentum matters more than chronology, and the branch you know best is the one whose captions you can actually write.
6. Put the words on the page, not in a spreadsheet
Type the names, dates, places and one line of story directly onto the layout. A caption sitting in a separate document does not survive the album being shared, printed, or inherited.

Caption: The inventory list is the least interesting hour of the project and the one that decides whether it finishes.
Organise by branch, not by date
Most album advice says work chronologically. For a family history scrapbook that advice actively fails, because you have several timelines running in parallel — your father's line and your mother's line were living entirely separate lives until one wedding photograph joins them. A strict date order shuffles four unrelated families together and the reader loses the thread by page three.
Three structures work, and they suit different collections:
| Structure | Best when | How it reads | Watch out for |
|---|---|---|---|
| By branch | You have material from two or more family lines | Each surname gets its own chapter, joined at the marriages | Cousins who appear in two branches — pick a home for them |
| By generation | Your collection is deep in one line | Great-grandparents, then grandparents, then parents | Thin generations make short, unbalanced chapters |
| By theme | Photos are scattered and undated | Weddings, work, houses, military service, holidays | Loses the family connections unless you caption hard |
Branch order is the default worth starting with in a family history scrapbook. Give each surname a section, open it with whatever group portrait you have, and let the marriage photographs act as the hinges between sections. If a branch only yields four images, it is still a section — a short chapter is honest about what survived.
For a lighter version of the same idea, a digital memory book built around a single grandparent makes a good first project before you attempt the whole tree.
Doing it in MyScrapBook Studio
Two things in the editor suit a family history scrapbook specifically. First, uploaded photos live in your library rather than being consumed by a page, so one scan of great-grandmother drops onto the wedding spread, the occupations spread and the cover without duplicating anything. Second, duplicating a finished page keeps its layout and text boxes intact — build one branch header you like, copy it four times, and each surname section opens consistently.
A practical build order that works: create one project per branch while you are drafting, then combine the strongest pages into a single family album at the end. Branch-sized projects are far easier to finish, and finishing is the hard part.
Start with the branch you can caption today. Open the editor and build that first section — four pages of named, dated people beats forty pages of anonymous ones. When you want project ideas beyond the family tree, our collection of scrapbook ideas has starting points for the rest of the album.
FAQ
How do I create a family history scrapbook?
Scan every inherited photograph and document once at high resolution, label each file with names and dates while relatives can still confirm them, then build pages branch by branch in digital scrapbooking software. Put the captions directly on the page, and store the originals cool, dry and away from PVC.
What is the difference between a heritage scrapbook and a photo album?
A heritage or genealogy scrapbook adds context — names, dates, places, relationships and stories — to inherited images, while a photo album mostly presents pictures. The written record is the point, and it is what makes the album useful to someone two generations from now.
Should I use the original photos or scans?
Use scans. Handling old prints repeatedly causes real damage, and originals can only ever appear in one place at a time. Scan once, store the print safely, and build every page from the digital master.
What if nobody knows who is in the photograph?
Include it anyway, and caption it with what you do know: the branch it came from, the approximate decade from clothing or photo format, and where it was found. An honest "unidentified, mother's side, likely 1930s" is far more useful to a future reader than no caption at all.
Start with one branch
The tin sat in a cupboard for thirty years because the whole project felt too big. It was not — it was eleven photographs and one phone call to an aunt. Pick the branch you know best, scan what you have of it, and get the names written down while there is still someone to ask. That is the family history scrapbook that gets finished.
Related Kits
Kits from creators in our marketplace that match this article.
Related guides
Scrapbook Ideas: 40 Projects You Can Start Today
Forty scrapbook ideas organised by project type — everyday moments, milestone events, travel, seasonal, gift albums, and people-focused projects.
Vision Board Maker: Build a Digital Board in 15 Minutes
A vision board maker turns vague goals into a board you actually look at. Compare 5 free tools, then build your own digital board in 15 minutes.
Digital Recipe Book: 5 Tools Tested for Family Recipes
A digital recipe book is either a searchable app or a keepsake you design page by page. Here are five tools tested, and which job each one fits.
Yearbook Maker: 6 Free Online Tools Compared for 2026
Choosing a yearbook maker in 2026? We compare six online tools on price, templates, collaboration and printing so your committee can start this week.