How to Make a Digital Scrapbook (Step-by-Step Guide for 2026)
How to Make a Digital Scrapbook (Step-by-Step Guide for 2026)
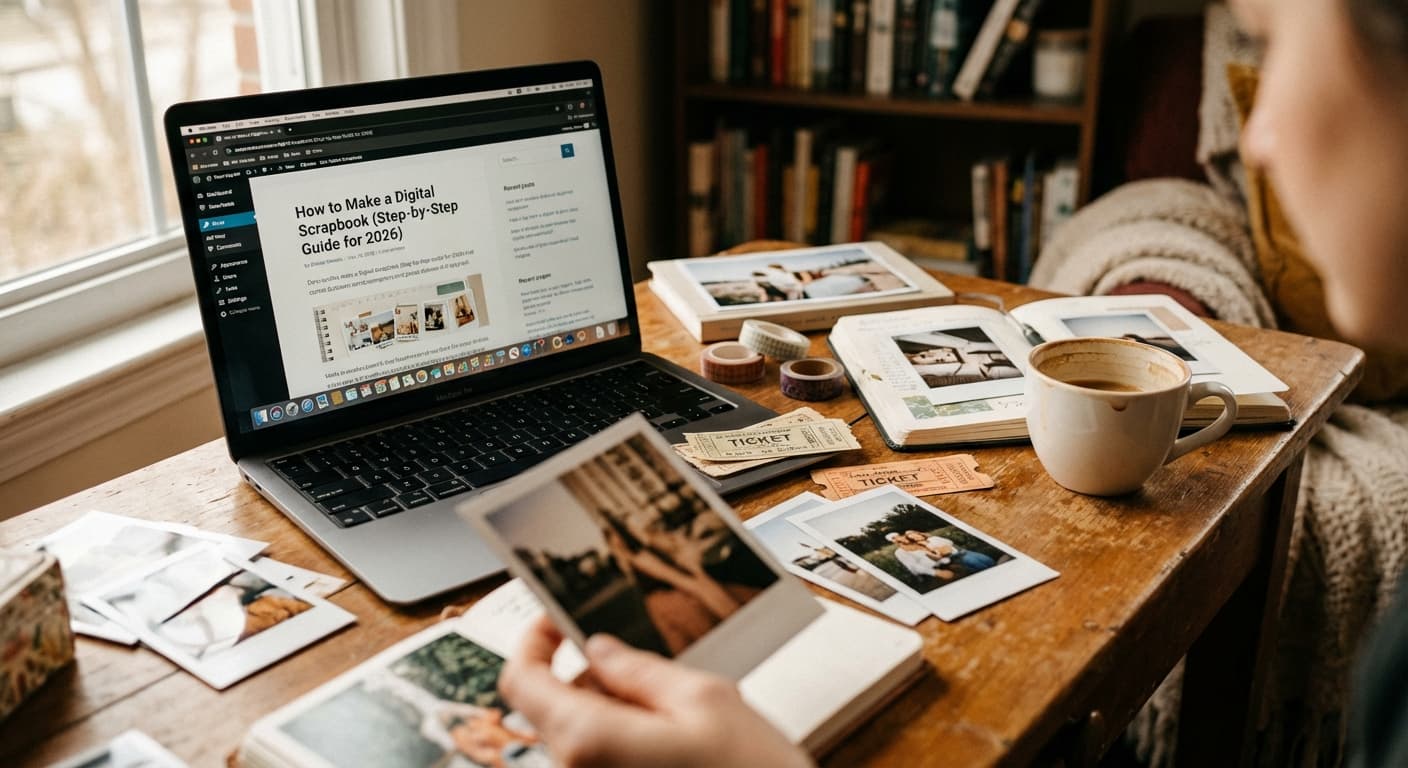
You've got a phone full of photos and a vague sense that you should do something with them. A digital scrapbook is the answer — and it's genuinely simpler than it looks. This guide walks through exactly how to make one, from choosing your first app to finishing your first page.
What is a digital scrapbook?
A digital scrapbook is a photo album you create and arrange yourself, using software rather than physical materials. Instead of cutting paper and applying stickers to a physical page, you drag and drop photos onto a digital canvas, arrange them with templates or free positioning, and add journaling text to record what happened. The result is a layout you can save as a file, share with family, print, or keep as a digital record. Unlike photo books generated automatically from your camera roll, a digital scrapbook involves deliberate choices about which photos to include and how to arrange them — which is why the result tends to feel more personal and more meaningful.
What do you need to make a digital scrapbook?
To make a digital scrapbook, you need three things: a device (laptop, desktop, or iPad), a set of photos you want to work with, and a scrapbooking app or software. You do not need design experience, graphic arts training, or any physical supplies. Free or low-cost apps like MyScrapBook Studio handle the design structure for you through templates — you provide the photos and the journaling, and the software handles the layout. Most people finish their first complete scrapbook page in twenty to forty-five minutes, with the majority of that time spent choosing which photos to use rather than doing any technical work.
Step 1: Choose What You're Documenting
Start with a single event, trip, or time period — not your whole photo library at once.
Good starting points: a recent family holiday, a birthday, a weekend you want to remember, or a season that's just passed. Anything that has a natural beginning and end.
The more specific you are, the easier every step after this becomes. "Easter weekend 2026" is better than "family memories." "Our trip to Queenstown" is better than "travel."
If you're not sure where to start, pick the last thing that happened that you photographed. Don't go back further than six months for your first project.
Step 2: Choose Your Photos
Go through your camera roll for the event and pick between 10 and 20 photos. That sounds like a lot, but you won't use all of them — you're building a selection to work from.
As you go through, look for: - The photo that best shows the overall scene or location - The photos where people look genuinely themselves (not posed) - The detail shots — food, signs, objects, hands doing something - The one or two photos you'd be sad to lose
Ignore blurry photos, duplicate shots, and photos where the composition didn't work. You can always go back for more, but starting with a manageable selection keeps the process from becoming overwhelming.
Step 3: Open Your Scrapbooking App and Choose a Canvas
Open MyScrapBook Studio (or whichever app you're using) and create a new project.
Most apps give you a choice between: - Single page: Good for one clear memory or moment - Double spread: Good for events with more photos to use - Mini album: Good for a series of related pages
For your first project, start with a single page. You can always build out from there.
Step 4: Choose a Layout Template
Rather than building from scratch, choose a template that fits the number of photos you want to use.
Templates organize the space on the canvas into a structure — three photos in a horizontal strip, one large feature photo with two smaller ones, a triptych of equal frames. The template does the design work. You supply the photos.
Look for templates that have roughly the number of photo slots you want to use. If you have four photos you like, choose a four-slot template. If you have one standout shot and two supporting images, choose a feature layout with accent spaces.
Step 5: Add Your Photos
Drag your chosen photos into the template slots. Most apps let you reposition the photo within its frame to choose what's centered and what's cropped out.
At this stage, don't try to finalize anything — just get the photos in place and see how the layout looks. Swap out photos that aren't working and try others from your selection. This step usually takes five to ten minutes.
Once you have a layout you're broadly happy with, you can start refining.
Step 6: Add Journaling Text
This is the step most people skip. Don't.
Journaling text — even just one or two sentences — is what turns a photo arrangement into a scrapbook. Without it, you have a photo collage. With it, you have a record.
Write the things that aren't visible in the photos: where you were, who was there, what the weather was like, what someone said, what you ate, how it felt. Two to four lines is enough. You can write a date, a place name, and one sentence about the day. That's all it needs to be.
Step 7: Save and Export
When you're happy with the layout, save it. Most apps auto-save as you work, but it's worth manually saving before you close.
Export options typically include: - Full-resolution PNG or JPEG: For printing or archiving - Compressed file: For sharing via email or messaging - PDF: For sending a multi-page layout
For a digital record, saving as a high-resolution JPEG is usually enough. If you want to print it, export at the highest resolution available.
How long does it take to make a digital scrapbook?
Making a single digital scrapbook page takes most beginners 20 to 45 minutes, with the majority of that time spent on photo selection rather than design work. Using a template (rather than building a layout from scratch) reduces the time significantly — the design structure is already in place and you're mainly choosing photos and writing a few lines of journaling. A full multi-page album covering a week-long trip typically takes 2 to 4 hours across several sessions. Experienced users working with familiar templates can complete a single page in under 10 minutes. The biggest time savings come from doing photo selection before opening the app, rather than sorting through your camera roll while the canvas is open.
Common Mistakes on Your First Attempt
Using too many photos. Pick fewer than you think you need. A clean layout with four carefully chosen photos is better than a crowded layout with eight competing ones.
Skipping the journaling. You don't need to write an essay. A date, a place, and one sentence is enough. Write it while the memory is fresh.
Trying to make it look professional. Your first scrapbook page doesn't need to be a showcase piece. Make it about the memory. The design matters less than the record.
Choosing the wrong starting point. Don't start with the most meaningful thing in your camera roll — a wedding, a loss, a milestone. Start with something recent and uncomplicated. Get the process down before you tackle the big ones.
The first page is always the hardest. Once you have one done, the rest get easier. Start at myscrapbookstudio.com — it's free during the beta, and your first page is there waiting.